
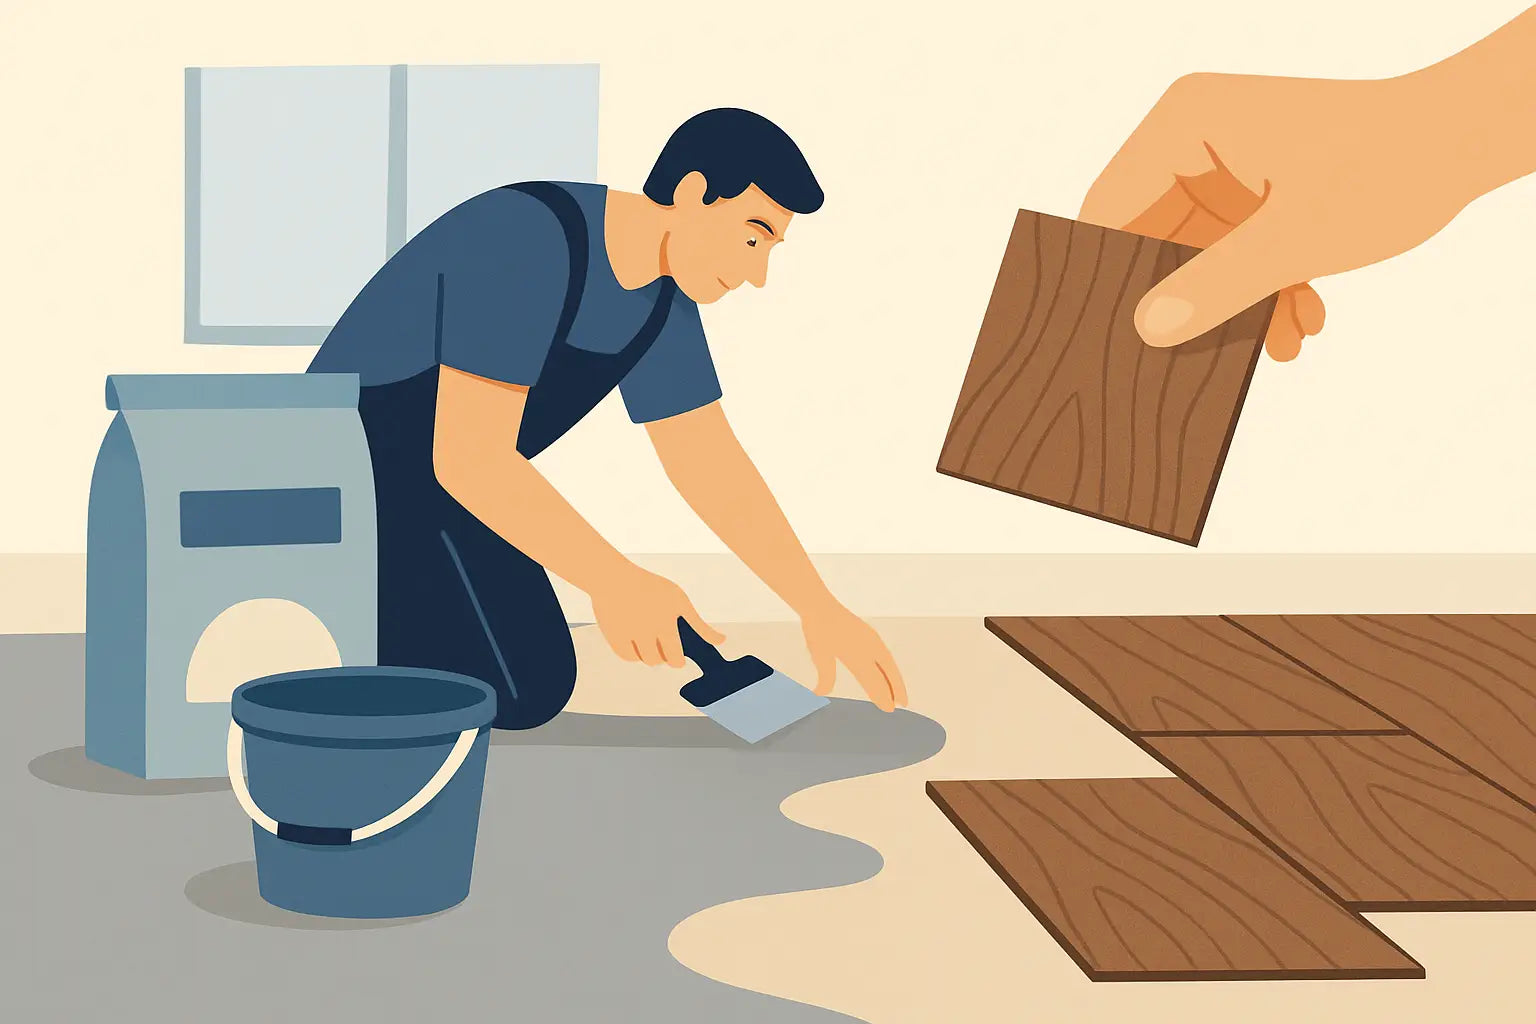
A vinyl floor is only as good as the subfloor underneath. If it isn’t level, you will see and hear it every single day: waves in side lighting, creaking click joints, or visible ridges with glue-down vinyl. Choosing the right leveling compound for vinyl flooring therefore decides between "it looks good" and "it lasts permanently." Here, you will learn when you need to level, which compound suits your system, and how to avoid typical mistakes.
Last updated: August 2026
The most important points in brief
- When to level? As soon as you see ridges, hollows, or light gaps with a straightedge; almost always for glue-down vinyl.
- Which compound? Usually a self-leveling floor compound, approved for your subfloor (absorbent/non-absorbent) and potentially for underfloor heating.
- Primer is essential: it binds dust, regulates absorbency, and creates adhesion.
- Underlay ≠ leveling: Unevenness must be leveled, not "covered up" with insulation.
- Patience during drying: Wait for the "ready to install" stage, not just a dry surface.
Table of contents
- When you actually need to level
- Which leveling compound? The types
- Click vs. Glue-down: different requirements
- Subfloor check: what matters and why
- Don't forget the primer
- Leveling the floor: step by step
- Layer thickness & drying
- Avoiding common mistakes
- Frequently asked questions
- Conclusion
When you actually need to level
Leveling compound comes into play when the floor isn't level enough, when joints, tile patterns, or cracks are present, or when you want to prepare an old subfloor so that adhesive and vinyl will work reliably later. Typical cases: old tiles in the hallway, patched spots in the screed, worn-out floorboards in old buildings.
In practice, "level" means: no perceptible ridges, no hollows, no bumps. Check this with a long straightedge. If you see light gaps underneath, you should level it out and not try to mask it with an underlay. Underlays are not leveling compounds: they follow the unevenness and can even put additional strain on click joints.
Which leveling compound? The types at a glance
In stores, you will encounter terms like leveling compound, floor filler, or repair compound. For vinyl flooring, you usually need a self-leveling floor compound that creates a smooth, flat surface, such as the Bostik SL C350 universal leveling compound. Repair compounds, on the other hand, are intended for local damage.
Make sure to check what the compound is approved for: living areas, underfloor heating, specific layer thicknesses, or for absorbent/non-absorbent subfloors. For glue-down vinyl, it should be an especially fine, low-porosity compound, because every structure will telegraph through the thin flooring.
Click vs. Glue-down: different requirements
| Click Vinyl | Glue-down Vinyl | |
|---|---|---|
| Why level? | so the click joint is not under tension | because every bump shows through on top |
| Leveling necessary? | if unevenness is perceptible | almost always |
| Consequence of errors | creaking, open joints, damaged click profiles | visible ridges, pressure marks, poor adhesion |
Still unsure which system is right for you? Our comparison Click vinyl or glue-down vinyl? will help you.
Subfloor check: what matters and why
Before buying, check three things: levelness (straightedge), firmness (is the subfloor sandy or crumbling?), and moisture (especially with fresh screed). Depending on the subfloor, the approach changes:
| Subfloor | What to do |
|---|---|
| Cement screed | prime, then level; usually straightforward |
| Calcium sulfate/anhydrite screed | sand down, bind dust, use appropriate primer, check moisture |
| Old tiles | clean, sand down, bonding primer, fill joints |
| Wooden floorboards / OSB | stabilize/screw down, often requires an decoupling layer before leveling |
Don't forget the primer
A leveling compound is only as good as its bond to the subfloor. A primer binds residual dust, regulates absorbency, and creates an adhesion bridge. On absorbent cement screed, it prevents the compound from setting too quickly and cracking; on dense tiles, the primer ensures that the leveling layer doesn't decouple. In practice, the primer is often the difference between "it stays" and "it peels off in slabs," so plan it in firmly. More on this in the guide Primer before glue-down vinyl.
Leveling the floor: step by step
When you want to level the floor, the procedure in practice always follows the same pattern. Plan enough time, especially for the drying phase:
- Prepare the subfloor: remove loose flooring, adhesive residues, and dust; firm up crumbling areas; roughen old tiles.
- Vacuum: make the area absolutely dust-free, otherwise you are leveling onto a separation layer.
- Prime: apply the appropriate primer and let it flash off; thinned on absorbent screed, as a bonding agent on dense tiles.
- Mix the leveling compound: mix with water exactly according to dosage instructions; ensure it is lump-free and not too thin.
- Apply: pour out the self-leveling compound promptly and distribute it with a squeegee or smoothing trowel, working within the specified processing time.
- Vent: roll over the fresh area with a spiked roller so that no air bubbles remain.
- Wait for "ready to install": not just the surface, the entire layer must be dried through before the vinyl goes on top.
Tip: In case of larger height differences, it is better to level in two layers than to risk a single layer that is too thick.
Materials for the subfloor
Primer, leveling compound, and adhesive are coordinated so that the systems fit together. We’ll deliver the right floor to go with it.
View installation materials →Layer thickness & drying
Leveling compounds have minimum and maximum layer thicknesses. Too thin will not level properly; too thick will extend drying time and may crack. Adhere to the manufacturer’s instructions. The "ready to install" status is crucial, not just a surface-dry layer, as residual moisture can be trapped underneath. Cool rooms and high humidity extend waiting time; strong drafts cause the surface to set too quickly. Especially with glue-down vinyl: if the adhesive meets residual moisture, it will not bond well.
Avoiding common mistakes
- Too much water in the bucket: makes the compound flow better but weakens its strength; always mix according to dosage instructions.
- Skipping the primer: saves a step, but often costs you the whole floor (hollow spots, peeling).
- Leveling onto dust: vacuum thoroughly after sanding, otherwise you are leveling onto a separation layer.
- Installing too soon: ignoring the "ready to install" status is fatal, especially for glue-down vinyl.
- Misusing underlay as a leveling tool: leads to pressure marks and joint movement in click vinyl.
Frequently asked questions about leveling compound for vinyl flooring
Do you always have to level under vinyl flooring?
Not necessarily; it depends on the levelness. Click vinyl is forgiving of minor unevenness, but as soon as you see light gaps, ridges, or hollows with a straightedge, you should level it out. Glue-down vinyl almost always requires a flat, leveled surface.
How do you level a floor for vinyl flooring?
In short: clean and firm up the subfloor, vacuum thoroughly, prime, mix self-leveling compound according to instructions, pour and spread, vent with a spiked roller, and then wait for it to be ready to install. The vinyl is only laid once the surface has dried through completely.
Which leveling compound is suitable for vinyl flooring?
Usually a self-leveling floor compound that creates a smooth, flat surface. Check for approval for your subfloor (absorbent or non-absorbent), for living areas, and potentially for underfloor heating.
Do you need a primer before the leveling compound?
Yes, in almost all cases. The primer ensures adhesion, prevents setting too quickly on absorbent subfloors, and prevents decoupling on dense surfaces like old tiles.
How long must leveling compound dry before laying vinyl?
That depends on layer thickness, product, and room climate. The decisive factor is the "ready to install" status, not just surface dryness. Especially with glue-down vinyl, you should stick to the manufacturer’s instructions, otherwise the adhesive will not bond well.
Can you use an underlay instead of leveling compound to even out a floor?
No. Underlays follow the unevenness instead of leveling it and can put additional strain on click joints. Unevenness must be leveled.
Conclusion
You won't see leveling compound later, but you will feel it with every step. Anyone who checks for levelness, firmness, and moisture, chooses the right leveling compound, primes thoroughly, and waits for the floor to be ready to install is laying the foundation for a floor that lies quietly and lasts a long time. You can find the right flooring for this in our collections Click Vinyl and Glue-down Vinyl, or get your sample in advance.