When installing adhesive vinyl, you are cutting corners if the subfloor only "sort of fits". This subfloor preparation guide for adhesive vinyl addresses this very issue – because the later appearance, durability, and suitability for everyday use depend entirely on the floor beneath. A beautiful floor covering cannot conceal small imperfections. On the contrary: adhesive vinyl often reveals unevenness, cracks, or residual moisture more quickly than other types of flooring.
Adhesive vinyl is so popular because it has a low profile, looks high-quality, and, if installed well, lies very smoothly and precisely in the room. However, these advantages come with a clear condition: the subfloor must be load-bearing, level, clean, and dry. If you observe this, you will get a result that looks good not only upon moving in but also convinces after years.
Why Subfloor Preparation is Crucial for Adhesive Vinyl
Adhesive vinyl is fully bonded to the subfloor. Unlike click vinyl, there is no floating construction that tolerates small imperfections better. Every dent, every ridge, and every loose spot can show through later. This is especially true with incoming light or in large, open living areas.
Adhesion also depends directly on the preparation. If dust, old adhesive residues, or non-load-bearing layers remain on the floor, the adhesive will not bond reliably. This can lead to gaps, raised edges, or areas that detach under stress. This is not only annoying but usually much more complex to correct than thorough preparation from the start.
Guide to Subfloor Preparation for Adhesive Vinyl: First Inspect, Then Start
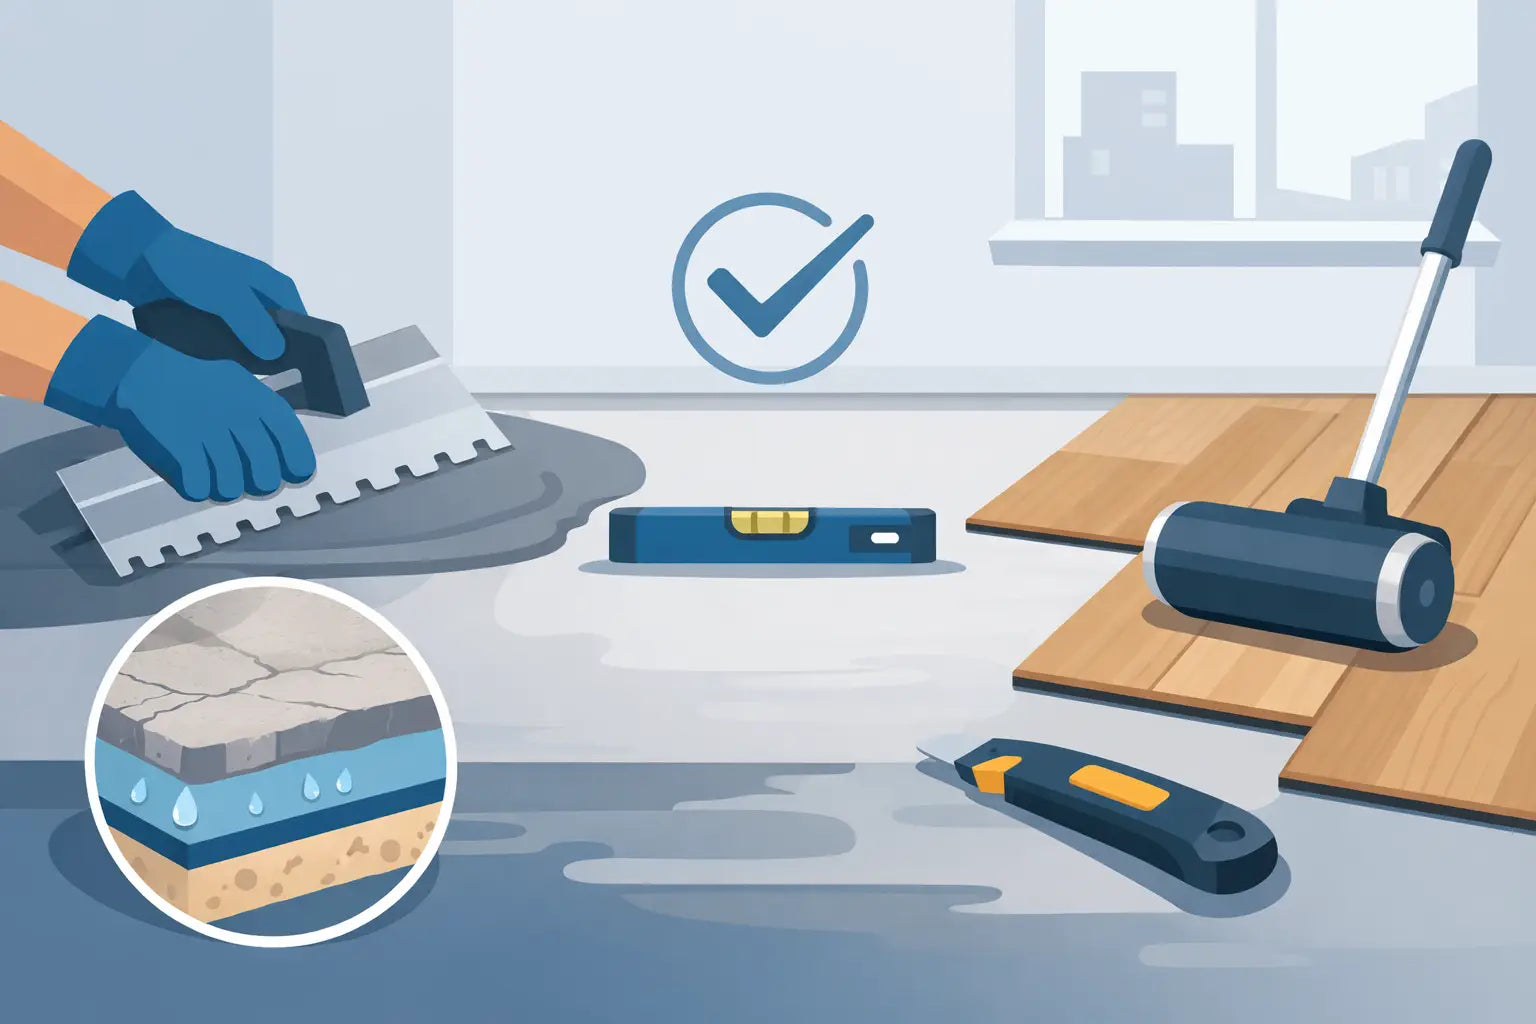
Before primer or leveling compound are used, the subfloor needs a sober assessment. Four points are crucial: load-bearing capacity, flatness, dryness, and cleanliness. Sounds simple, but in practice, it is often rushed.
A load-bearing subfloor does not yield, does not sand off, and has no loose areas. If old paint layers, filler residues, or adhesive residues can be easily removed with a spatula, rework is mandatory. Adhesive vinyl needs a solid base, not a compromise solution.
Flatness is the second critical point. Small tolerances may go unnoticed with other coverings, but not with adhesive vinyl. Even minor height differences can show through later. If you place a long straightedge or a straight plank on the floor, you will quickly see where filling is needed.
Equally important is dryness. Especially with mineral subfloors like screed, residual moisture can become a problem. Too much moisture impairs the adhesive and can lead to long-term damage. This is often not visible initially. That is precisely why this point should not be estimated but professionally checked.
Which Subfloors are Suitable – and Which are Not Immediately
On cement screed, adhesive vinyl can often be laid very well, provided the subfloor is sufficiently dry and level. Calcium sulfate screed also requires care, especially regarding residual moisture and suitable primer. Here it is worthwhile to strictly adhere to the system recommendations of the products used.
Old tiles are a typical renovation case. In principle, adhesive vinyl can work on them, but not directly and not without preparation. Grout lines usually need to be cleanly closed and the entire surface smoothed. Otherwise, the tile structures will show through later.
With old PVC, linoleum, or carpet floors, more caution is advisable. Such coverings are usually not a reliable subfloor for adhesive vinyl, especially if they are soft, damaged, or not securely bonded to the floor. Here, removal is often the better solution. This takes time but creates a resilient base.
Wooden subfloors such as floorboards or particle boards are a special case. They expand and contract, react to climate changes, and often have gaps or slight movements. This does not automatically mean an exclusion criterion, but the construction must be carefully planned. Depending on the condition, suitable leveling measures may be necessary so that adhesive vinyl lies smoothly later.
Cleaning and Removal of Old Layers
Before any further measures, the surface must be clean. This means not just roughly swept, but truly dust-free and free of separating layers. Paint, oil, wax, plaster residues, or loose old materials have no place on the subfloor.
Old adhesive residues are particularly critical. If they are firm, water-insoluble, and system-compatible, they can sometimes be reworked. If they are soft, crumbly, or of unclear composition, they should be removed. This is often where it is decided whether the new construction will last long-term or cause problems later.
After mechanical cleaning, thorough vacuuming usually follows. Damp wiping is not always advisable because additional moisture can be introduced into the subfloor. Especially before priming and filling, a dry, clean floor is the safe basis.
Correctly Leveling Cracks, Holes, and Unevenness
A floor for adhesive vinyl must not only be clean but also even. Small holes, open cracks, or sunken spots must not remain. Cracks must be professionally closed depending on their type. Simply "filling over" is often not enough for areas prone to movement.
Afterward, leveling compound usually comes into play. It creates a smooth, homogeneous surface and compensates for small to medium unevenness. It is crucial to choose the right compound for the respective subfloor and the appropriate layer thickness. Too thin is ineffective, too thick can waste unnecessary time and material.
Those renovating large areas should not improvise here. Especially in living-dining areas, hallways, or kitchens, every transition will be noticeable later. A smoothly applied leveling layer is often the difference between "neatly laid" and truly high-quality workmanship.
Priming – Often Inconspicuous, but Technically Important
Priming is often underestimated because it looks like little. However, it is often crucial for the connection between the subfloor, leveling compound, and adhesive. It regulates absorbency, binds residual dust, and improves the adhesion of the subsequent construction.
Which primer is suitable depends on the subfloor. Absorbent screeds, dense old subfloors, or critical mixed surfaces do not require the same solution. That is why it makes sense to use products within a coordinated system. This makes processing more predictable and reduces the risk of adhesion problems.
The drying time is also important. If you continue too early here, you immediately lose the advantage of the primer. Especially with renovations under time pressure, patience at this point is cheaper than later rework.
Residual Moisture: The Point Many Check Too Late
If adhesive vinyl later causes problems, the cause is often in the subfloor and especially with moisture. Screed can appear dry and still be too moist. Therefore, do not rely on the first impression or on the age of the floor alone.
Especially with new construction, fresh screed, or after water damage, a reliable moisture test is mandatory. It can also be useful for older existing floors if the history is unclear. Excessive residual moisture not only jeopardizes the adhesive bond but, if in doubt, the entire floor structure.
This also applies to seemingly small rooms. Bathrooms without wet areas, utility rooms, or entrances are often technically more demanding than a dry bedroom. The room also determines which preparation is sensible.
Typical Mistakes in Subfloor Preparation
Many problems arise not from ignorance but from shortcuts. Work is continued on an old surface even though it is not load-bearing. Or unevenness is deliberately ignored because "no one will see it later anyway." With adhesive vinyl, you often do see it.
Another common mistake is combining arbitrary products. Leveling compound, primer, and adhesive should be technically compatible. Anyone who simply takes what is available rarely really saves. In the worst case, the installation becomes less secure and more expensive as a result.
Time pressure also often leads to bad decisions. Uncured leveling compound, premature gluing, or incomplete cleaning usually take their toll later. But by then, the flooring has already been laid. That is precisely why it is worth planning the preparation as a fixed part of the project – not as an annoying preliminary stage.
When Professional Support is Worthwhile
Not every subfloor is a case for DIY. With heavily damaged screeds, unclear old coverings, wooden floors with movement, or suspected moisture, professional inspection is often the better decision. This not only saves nerves but also protects the material.
Renovators or tradespeople who want to work quickly particularly benefit from clearly coordinated products and a clean sequence. This is where a curated selection is helpful: it is better to consider the matching components directly rather than having to buy individual parts later. WaBo Design also applies this practical approach to flooring and installation accessories.
What Should Be Checked Again Before Gluing
Before the first element goes into the adhesive bed, a final check is worthwhile. Is the surface really smooth, clean, and dry? Are there edge areas, door passages, or connections that still need attention? These five minutes of checking are often more valuable than any later correction.
Adhesive vinyl rewards thorough preparation with a smooth surface, a precise joint pattern, and a high-quality walking feel. That is why a good floor does not begin with the design, but with the subfloor. Anyone who works carefully here creates the best conditions for the new floor to not only be quickly laid but also to impress every day.
Take an extra step for subfloor preparation – you will see it in your adhesive vinyl on every square meter in the end.