If vinyl later cracks, shows marks, or works its way up at the edges, it's rarely due to the flooring itself. The fault usually lies underneath. That's precisely why a proper guide to leveling the subfloor for vinyl is not a minor detail, but the basis for a good result – whether you're laying click vinyl or glue-down vinyl.
The point is simple: vinyl is comparatively thin and shows unevenness faster than many other floor coverings. Small holes, joints, old adhesive residues, or rough screed areas are often enough to prevent the new floor from lying flat. Those who work carefully here will save themselves trouble, rework, and unnecessary costs later on.
When you should level the subfloor for vinyl
Leveling is always advisable when the subfloor is not sufficiently even, firm, or sealed. This is practically a must for glue-down vinyl. The planks or tiles lie directly on the floor, so almost every unevenness shows through. With click vinyl, it depends on the product, thickness, and integrated impact sound insulation – but even here, the better the subfloor, the quieter and more durable the floor will be.
Typical cases include screed with pores and breakouts, old tiles with joints, concrete with slight undulations, or old subfloors after removing carpet, PVC, or adhesive residues. If you measure several millimeters of difference over a short distance with a long straightedge or spirit level, simply sweeping or priming is no longer sufficient.
Tenants and renovators often hope to "hide" small imperfections. With vinyl, this only works to a limited extent. Especially in incoming light, depressions and elevations quickly become visible. If you want to buy a high-quality floor, you should not treat the area beneath it like a side job.
Vinyl Flooring Subfloor Leveling Guide: How to Proceed
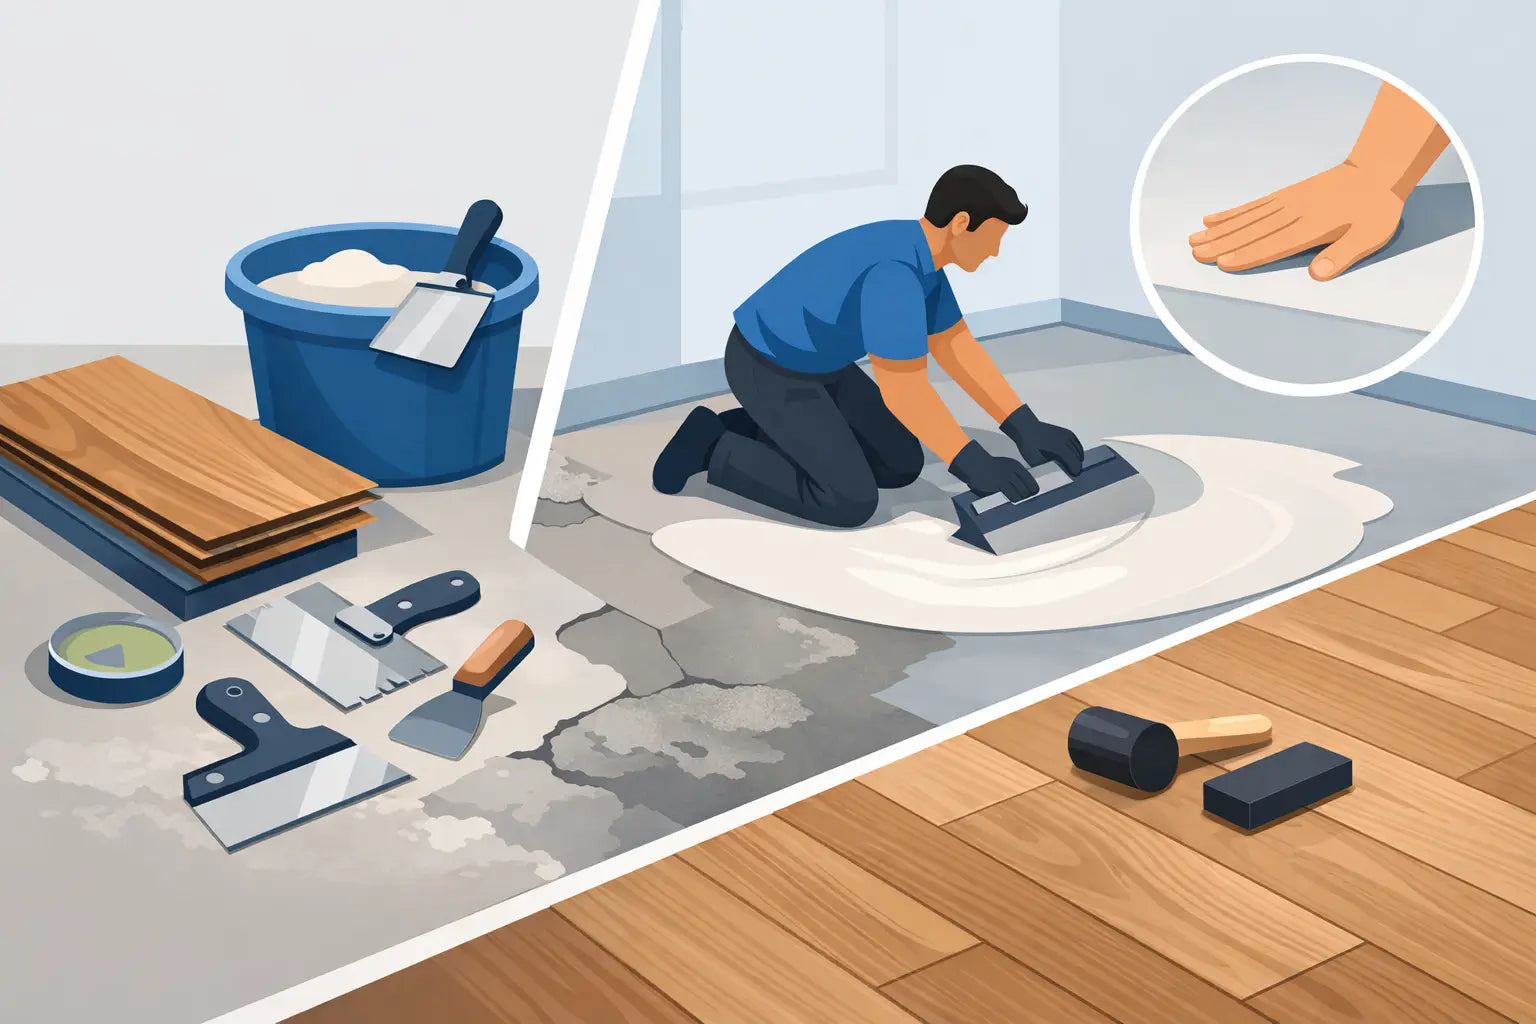
Before mixing leveling compound, the subfloor must be inspected. It must be load-bearing, dry, and clean. Loose areas, dust, release agents, grease, and old adhesive residues interfere with adhesion. This is not a detail, but a prerequisite for primer and leveling compound to work at all.
1. Inspect the subfloor and expose damage
Walk slowly across the surface and mark problematic areas. These include cracks, breakouts, hollow areas, joints, edge zones, and transitions between different materials. Screed should not be sandy. Old tiles must be firmly attached. Wood subfloors are a special case – more on that later.
Then clean thoroughly. First remove coarse dirt, then vacuum. Fine dust tends to remain in pores and prevents the primer from soaking in properly. Hasty work here will lead to adhesion problems later.
2. Remove old residues
Old adhesive residues, paint overspray, or trowel ridges must be removed. Depending on the substrate, this can be done with a scraper, grinder, or milling machine. It is important not only to remove visibly loose areas, but also to smooth out hard elevations. A self-leveling compound can compensate for many things, but it will not turn a bumpy substrate into a perfect surface if coarse edges remain.
With bituminous or unknown old coatings, a closer look is worthwhile. Not every substrate is directly ready for covering. In case of doubt, the appropriate system recommendation is crucial.
3. Prepare cracks and holes
Cracks in the screed are not simply covered with filler. Depending on their nature, they should be structurally closed. Small holes, breakouts, or edge chipping can be pre-filled with a suitable repair compound. The advantage: The subsequent filler layer will be more even and you will use less material.
At doorways, transitions, and repair areas, careful preparation is particularly worthwhile. These are often the places where issues are later seen or heard.
4. Apply primer
Before leveling, the subfloor generally needs a suitable primer. It binds residual dust, regulates absorbency, and improves adhesion. Highly absorbent subfloors like mineral screed require different products than dense old tiles. Therefore, the primer should always match the subfloor and the leveling compound.
The primer is evenly distributed and must dry completely. Continuing work too early is one of the most common mistakes. If the surface is still damp or sticky, the leveling compound may set unevenly.
5. Mixing the leveling compound
Now comes the actual core of the vinyl flooring subfloor leveling guide. The leveling compound is mixed precisely according to the manufacturer's instructions with water. Not by feel, not "a little thicker", not "so it dries faster". Even small deviations will impair flow, strength, and drying.
Use a clean container and a mixer with a suitable whisk. The mixture should be lump-free and allowed to mature briefly if the product requires it. Then stir again.
6. Level and distribute the compound
The leveling compound is applied in sections and spread with a smoothing trowel or squeegee. For self-leveling products, a spiked roller often helps to release air and ensure a smoother surface. Work quickly, as many compounds have only a limited working time.
How thickly the compound needs to be applied depends on the subfloor. A few millimeters are sufficient for small pores and minor irregularities. Old tiles with joints or significantly uneven surfaces usually require more. Applying too thin a layer achieves little, while applying too thick a layer without product approval can lead to cracks or prolonged drying.
7. Allow to dry and check the surface
After leveling, the surface needs to rest. Tilted windows and drafts are not always helpful, as they can cause uneven drying. The room climate, layer thickness, and product specifications are crucial. Before vinyl is laid, the surface must be completely dry and load-bearing.
Then check the surface again with a straightedge and hand light. Small ridges can be sanded if necessary. Now it shows whether the work was done cleanly. A good leveling feels closed, even, and stable.
What are the differences between click vinyl and glue-down vinyl?
For glue-down vinyl, a leveled subfloor is almost always the safe choice. The material lies directly on it and takes on every structure. Anyone who tries to save here will often see it later in backlight or feel it when walking.
With click vinyl, it depends more on the product. A stable rigid vinyl forgives a little more than thin material. Nevertheless, this does not replace proper subfloor preparation. Small grains, elevations, or depressions can lead to movement, hollow spots, or an uneven walking pattern. Especially in heavily used rooms, a perfectly level subfloor pays off.
Typical mistakes when leveling
Most problems arise not from the wrong vinyl, but from time pressure. A classic is leveling on a dusty or unprimed subfloor. Also common: too much water when mixing, wrong layer thickness, or laying the floor when the surface is not yet dry.
Transitions are also often underestimated. If a room is only partially re-leveled, visible seams quickly appear. It is often better to level contiguous areas completely. This costs a little more material, but delivers a much cleaner result.
Special cases: tiles, wood, and mixed subfloors
Old tiles are a typical renovation case. Here, loose tiles must be replaced, the surface cleaned, and then completely leveled so that grout lines do not show through later. Laying directly on tiles only works cleanly in exceptional cases.
Wood subfloors are more demanding. Floorboards work, flex, and react to moisture. Simply applying leveling compound to old wooden floorboards is not a standard solution. Usually, it first requires stable decoupling or a suitable board construction. Those who lay on wood should check more precisely which system suits the subfloor.
For mixed subfloors, such as screed with repaired partial areas or transitions to old coverings, a full-surface solution is often more sensible than patchy patchwork. This is precisely where vinyl quickly shows differences in the subfloor.
How to tell if the subfloor is ready for covering
A subfloor ready for covering is even, dry, load-bearing, and clean. It must not chalk, sand, or have any loose particles. If you run your hand over the surface, no sharp ridges, open pores, or visible joints should remain.
For high-quality results, it's not enough for vinyl to simply lie there. It should also remain smooth, stable, and visually clean after months. This is precisely decided before laying. Those who choose matching materials and accessories work faster and with less risk. At WaBo Design, many customers therefore not only pay attention to the floor itself, but also to the right system for the subfloor and installation.
A good vinyl floor makes a big difference - but it can only be as good as the surface beneath it. If you take the necessary care when leveling, you're not just laying a floor, but creating a foundation that you'll notice every day.