
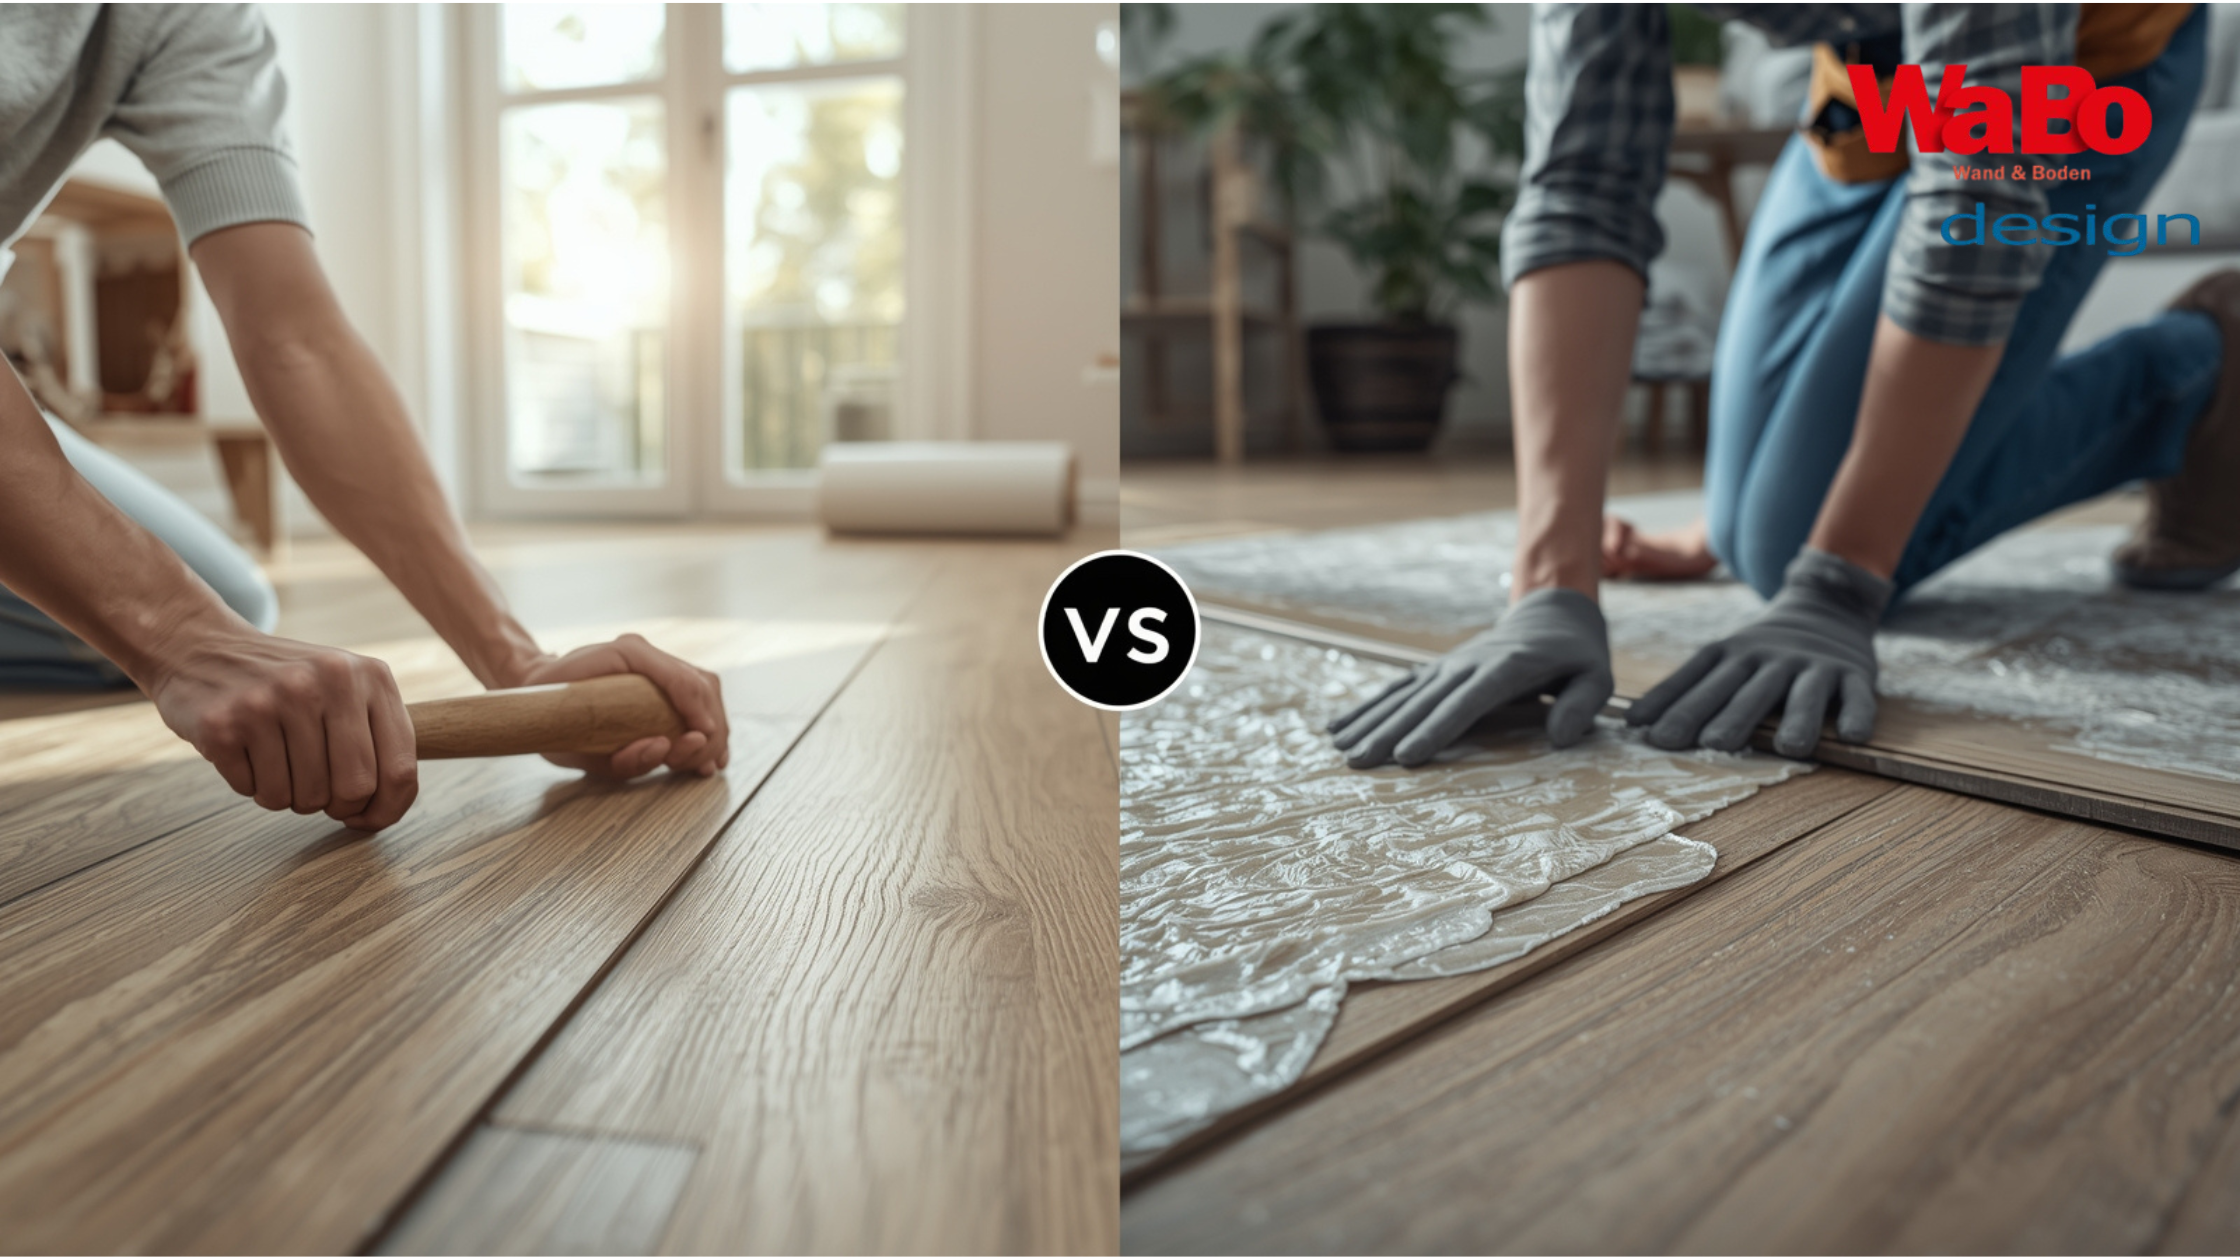
Should you install vinyl flooring yourself or leave it to the professionals? The answer depends primarily on one question: click vinyl or glue-down vinyl? These two systems differ significantly in terms of installation, effort, and cost. This guide shows you the strengths and weaknesses of both methods, the tools you need, the mistakes that can become expensive, and when a professional is truly worth it.
The most important points in brief
- Click vinyl = ideal for DIY: installed floating, no glue, walkable immediately.
- Glue-down vinyl = better for pros: fully bonded, very thin and durable, but more demanding.
- Costs: DIY click approx. €24–50/m² (material), glue-down by a pro approx. €41–115/m² (incl. labor).
- The subfloor is decisive: must be dry, clean, and level; otherwise, nothing will last.
- Expansion joints & acclimatization are the most common pitfalls for DIYers.
Table of contents
- Click vs. glue-down vinyl: the basics
- Installing it yourself (click vinyl)
- Requirements & tools
- Avoiding typical DIY mistakes
- Pro: having glue-down vinyl installed
- Costs in detail
- Comparison: click (DIY) vs. glue-down (pro)
- Frequently asked questions
- Conclusion & recommendation
Click vs. glue-down vinyl: the basics
Vinyl floors are made of PVC, are robust, warm to the feet, and quiet. There are two systems for installation: Click vinyl is installed floating like laminate; the planks are clicked into each other, often with a rigid core (SPC) and integrated underlay, total thickness usually 4–6 mm. Glue-down vinyl is very thin at 2–3 mm and is bonded across the entire surface, which results in a particularly quiet, solid floor, ideal for damp rooms and underfloor heating. Our comparison Click vinyl or glue-down vinyl? helps clarify which system is fundamentally better suited.
Installing it yourself (click vinyl)
Click vinyl is the classic choice for DIY enthusiasts: the planks are simply clicked together, no glue or long drying times are needed, and the floor can be used immediately. This saves on labor costs (professionals charge an average of €10–30/m²). Another advantage: click vinyl can be installed as a floating floor and removed later without leaving any residue, making it perfect for rental apartments. SPC variants are forgiving of minor unevenness of up to approx. 2 mm per meter.
For DIYers
Click floors with a stable SPC or mineral core, many of which feature integrated underlay. This saves you the need for a separate underlay and an entire work step.
View click vinyl with integrated underlay →Requirements & tools
- Subfloor: dry, clean, and stable. Fill larger uneven spots beforehand with filler.
- Acclimatization: store the vinyl in the room for 24–48 hours so it can adapt to the temperature and humidity.
- Underlay: only necessary if not integrated; read more in the guide Underlay under vinyl.
- Tools: spacers, vinyl cutter or jigsaw, tape measure, pencil, rubber mallet, and possibly transition profiles. You can find materials for this in the Installation section.
Avoiding typical DIY mistakes
- No expansion joints: leave a 5–8 mm gap to all walls so the floor can expand.
- Subfloor not checked: residual moisture can cause click vinyl to warp; measure it beforehand.
- Installed without a guide line: align the first row with a chalk line; otherwise, it will be crooked.
- Too much water: even click vinyl does not like standing water at the joints.
Pro: having glue-down vinyl installed
Glue-down vinyl is bonded across the entire surface, resulting in a particularly solid, quiet, and long-lasting floor that is ideal for kitchens, bathrooms, hallways, and underfloor heating (the thin layer conducts heat quickly). The catch: it requires an absolutely level subfloor and professional skill regarding priming, filling, and the correct flash-off time for the adhesive. Mistakes made during subfloor preparation can hardly be corrected later. For those who want a high-quality, long-term solution, a professional company is the safer choice. You can read about how the preparation works in our guide Priming before glue-down vinyl.
Costs in detail
The installation of glue-down vinyl requires more preparation, which is reflected in the price. A typical example calculation for glue-down vinyl including professional installation:
| Cost factor | Avg. price per m² | Explanation |
|---|---|---|
| Purchase | €16–35 | Glue-down vinyl flooring |
| Preparation | €5–15 | Filler, primer, adhesive |
| Labor | €10–50 | Professional installation |
| Total | €41–115 | Depending on region & effort |
For comparison: DIY with click vinyl usually costs approx. €24–50/m² including underlay, as there are no labor costs. Our guide Understanding vinyl flooring prices per sqm explains exactly how the per-sqm price is calculated.
Comparison: click (DIY) vs. glue-down (pro)
| Criterion | Click vinyl (DIY) | Glue-down vinyl (pro) |
|---|---|---|
| Installation | floating, simple | fully bonded, precise |
| Removal | easily removable, great for rentals | permanent, difficult to remove |
| Thickness | approx. 4–6 mm | very thin (2–3 mm) |
| Damp rooms | possible with SPC, joints are weak point | 100% waterproof, ideal for baths |
| Underfloor heating | suitable | very good (direct heat conduction) |
| Costs/m² | approx. €24–50 (DIY) | approx. €41–115 (incl. pro) |
Frequently asked questions
Can you install vinyl flooring yourself?
Yes, click vinyl is ideal for this: the planks are clicked together, no glue is used, and the floor is immediately walkable. An even, dry subfloor, acclimatization, and expansion joints are important.
What does it cost to have vinyl flooring installed?
For glue-down vinyl including professional installation, the total costs are usually approx. €41–115/m² (material, preparation, labor). Labor costs alone are often €10–30/m².
Is click or glue-down vinyl easier to install?
Click vinyl is significantly easier and therefore the choice for DIY. Glue-down vinyl requires full-surface gluing, a perfect subfloor, and experience, making it more suitable for a professional.
What do you need to install vinyl?
For click vinyl: spacers, vinyl cutter or jigsaw, tape measure, pencil, and rubber mallet. Additionally, depending on the subfloor, underlay, filler, and primer.
Do you have to prepare the subfloor?
Yes. The subfloor must be clean, dry, and level. Unevenness should be filled, and absorbent or dense surfaces often need priming; otherwise, there is a risk of creaking, gaps, or detachment.
Conclusion & recommendation
Installing it yourself is worth it if you are handy, want to save money, and are looking for a flexible solution for living rooms or rental apartments; then click vinyl is the right choice. A professional is worth it if maximum durability, a perfect appearance, and water resistance are required, for example with glue-down vinyl in the kitchen, bathroom, or hallway. Those who move frequently choose click; those who want a permanent, damp-room-suitable solution should have glue-down vinyl professionally installed.
Next step
Still not sure whether click or glue-down suits your room? Answer a few questions about your subfloor and usage, and we will show you suitable floors. Or get up to 3 samples in advance for €19.95, which we will credit upon purchase.
Start floor-finder →