
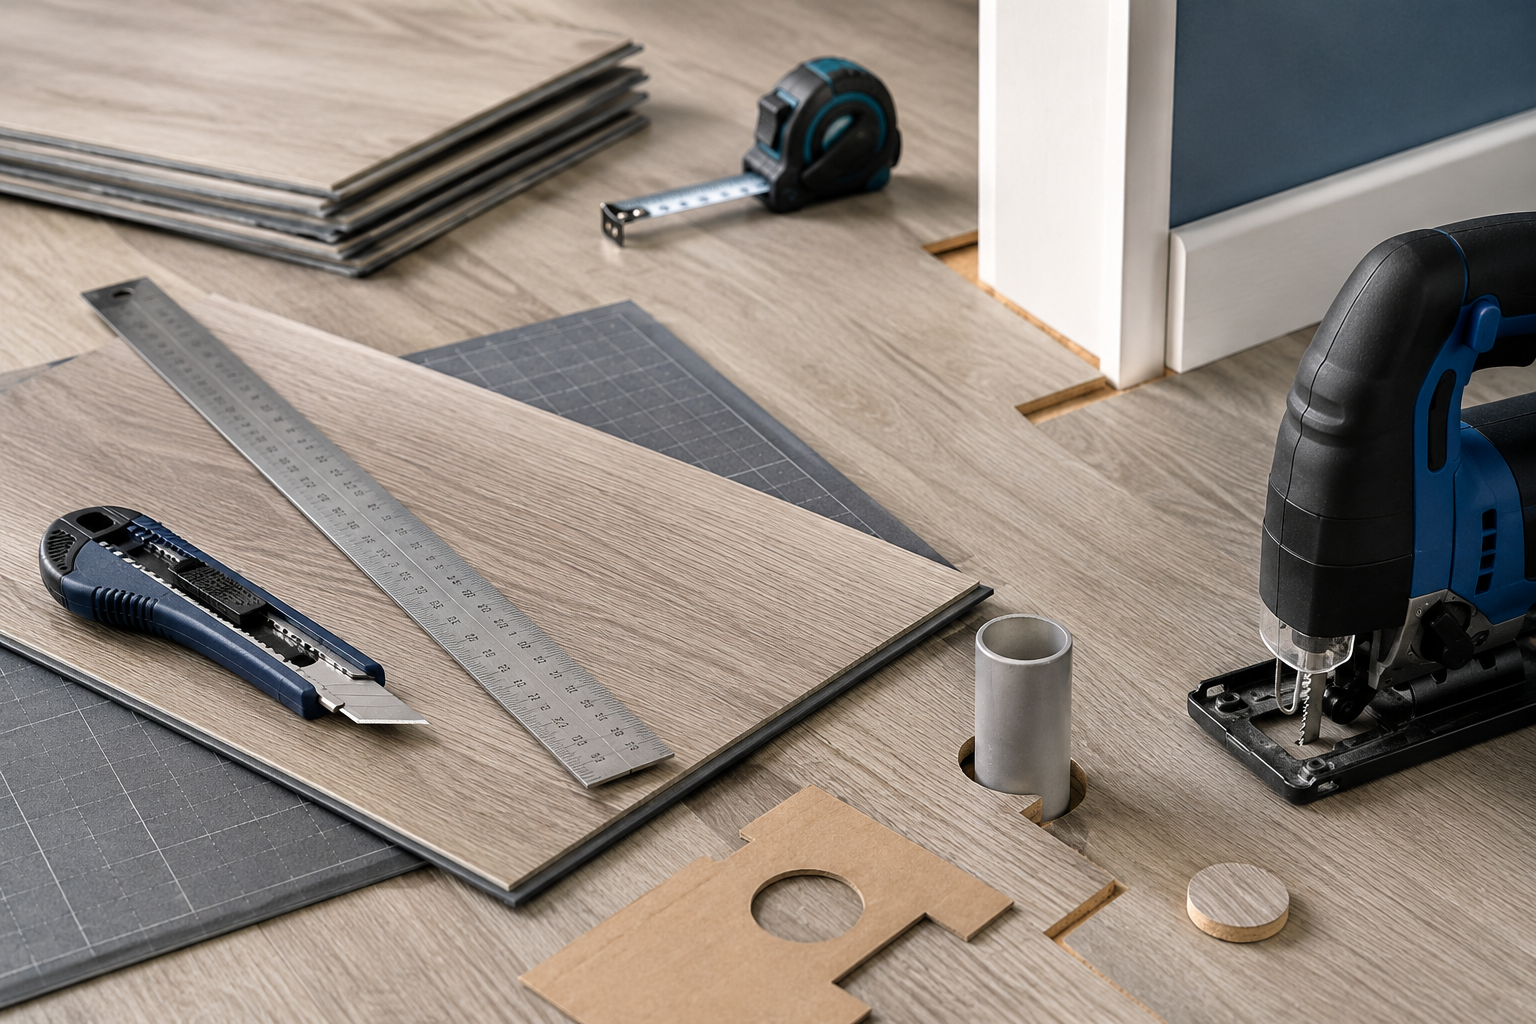
Cutting vinyl flooring is one of those steps that determines whether you achieve a clean installation result. What is the right way to cut vinyl flooring to ensure edges are smooth and joints are exact? We answer exactly this question here: with the appropriate guide for click vinyl, glue-down vinyl, and rigid vinyl, the necessary tools, and the tricks that will help you finish the last row and cutouts for pipes without any tear-outs.
Key takeaways at a glance
- For click vinyl, you usually use a utility knife: score, break along the edge, and you're done.
- For glue-down vinyl, you need a sharp carpet knife and a steel ruler for a smooth, straight cut.
- Rigid vinyl (SPC) with a rigid core cannot simply be broken; a jigsaw with a fine-tooth blade is better suited for this.
- For cutouts around pipes and door frames, a cardboard template is helpful before making the final cut.
- It's better to measure twice and leave an 8 to 10 millimeter gap at every wall as an expansion joint.
Table of Contents
- Why the right cut matters for vinyl flooring
- Tools for cutting vinyl flooring: what you really need
- Cutting click vinyl: step by step
- Cutting glue-down vinyl and rigid vinyl: the differences
- Cleanly cutting the last row and edge pieces
- Cutting out recesses for pipes, frames, and corners
- The most common mistakes when cutting vinyl flooring
- Frequently asked questions
- Conclusion
Why the right cut matters for vinyl flooring
A clean cut determines whether joints will later look tight and straight or if gaps will gape at every wall. When cutting vinyl flooring, one thing matters above all else: the blade must be sharp. A dull blade presses the flooring material instead of slicing through it, which creates frayed edges that can no longer close cleanly during installation. Take your time for the cuts, work on a stable surface, and change the blade more often than you think. This applies to click vinyl just as it does to glue-down vinyl and rigid vinyl with a hard SPC core.
Tools for cutting vinyl flooring: what you really need
You don't need professional equipment to cut vinyl flooring. For most projects, tools found in any hardware store are sufficient:
- Utility knife with snap-off blade: the classic for click vinyl; inexpensive and the blade can be replaced quickly.
- Carpet knife with a sturdy blade: ideal for glue-down vinyl because it cleanly cuts through even thicker backing layers.
- Steel ruler or framing square: indispensable for straight cutting edges; a wooden ruler slips too easily.
- Cutting mat: protects the surface underneath and keeps the blade sharp for longer.
- Jigsaw with a fine-tooth blade: for rigid vinyl (SPC) and thicker design floors that can no longer be broken.
- Cardboard template or contour gauge: for cutouts around pipes, radiators, and door frames.
The following table shows you at a glance which tool is suitable for which type of vinyl flooring:
| Vinyl Flooring Type | Recommended Tool | Note |
|---|---|---|
| Click vinyl | Utility knife, framing square, cutting mat | Usually, scoring and cleanly breaking along the edge is sufficient |
| Glue-down vinyl | Carpet knife, steel ruler, cutting mat | Cut before gluing, change the blade often |
| Rigid vinyl (SPC) | Jigsaw with fine-tooth blade, alternatively a circular saw | The rigid core can hardly be broken, so saw instead of score |
Cutting click vinyl: step by step
Cutting click vinyl is the most straightforward option because most planks have a flexible backing layer. Here is how you proceed:
- Place the plank with the decorative side facing up on a firm surface and mark the dimensions.
- Use the utility knife and framing square to score along the line several times until the wear layer is cut through.
- Place the plank on a straight table edge at the scored line and break it downwards with light pressure.
- Deburr the cut edge with a fine sanding sponge if it is not completely smooth.
Important: It is better to score three times too lightly than once too deeply, as an initial cut that is too deep will easily tear out the decorative layer.
Cutting glue-down vinyl and rigid vinyl: the differences
Glue-down vinyl in plank or tile form can usually be cut through in one go with a sharp carpet knife because the backing is thinner and more flexible than with click vinyl. Work on a cutting mat, guide the knife along a steel ruler, and pull the blade through completely with even pressure instead of starting multiple times.
Cutting rigid vinyl, on the other hand, is a different task. The rigid SPC or WPC core makes the plank significantly harder; simply scoring and breaking usually no longer works reliably here. Use a jigsaw with a fine, clean blade or a circular saw with a guide rail instead. Secure the plank well before sawing so that it does not slip, and saw from the decorative side to avoid tear-outs on the visible surface.
You can see which floors have a rigid core in our overview of rigid vinyl and SPC vinyl flooring.
Cleanly cutting the last row and edge pieces
The last row against the wall is almost never exactly the width of a full plank, so you must cut longitudinally here. This is the safest way to proceed:
- Finish installing the second-to-last row and place the last plank loosely on top.
- Place another plank on top of it and push it against the wall, planning for the 8 to 10 millimeter expansion gap.
- Mark the cutting line along the top plank with the utility or carpet knife.
- Cut the plank using the usual technique (break click vinyl, cut through glue-down vinyl) and insert it.
This ensures the distance to the wall remains consistent, and the expansion joint can later be easily covered by the baseboard.
Cutting out recesses for pipes, frames, and corners
Heating pipes, door frames, or electrical outlet boxes require a cut that is not just a straight line. You will be most successful using a cardboard template: cut the contour roughly out of cardboard first, check the fit on site, and only then transfer it to the vinyl plank. For round cutouts like pipes, a hole saw drill bit of the appropriate diameter is suitable; you can finish the rest of the cutout with a utility knife. With door frames, it is often easier to slightly shorten the frame at the bottom (undercutting) instead of trying to cut the vinyl plank around it in a complicated way.
The most common mistakes when cutting vinyl flooring
These are the mistakes we see again and again in customer interactions, and they are all avoidable:
- Continuing to use a dull blade: it ends up costing more time than the replacement itself and ruins the edge.
- Cutting freehand without a guide: almost always leads to slightly slanted edges that become noticeable later.
- Forgetting the edge gap: without an expansion joint, the floor can buckle due to temperature fluctuations.
- Treating rigid vinyl like click vinyl: the rigid core cannot be broken cleanly and will splinter.
- Cutting directly without a test run: especially with cutouts, a template is always worth the effort.
Frequently asked questions about cutting vinyl flooring
What is the best way to cut vinyl flooring?
For click vinyl, a sharp utility knife with a snap-off blade, guided by a steel ruler or framing square, is generally sufficient. For glue-down vinyl, it is better to use a carpet knife; for rigid vinyl with a hard core, use a jigsaw with a fine-tooth blade.
Can you cut vinyl flooring with a normal utility knife?
Yes, for classic click vinyl and most glue-down vinyl products, a standard utility knife works well as long as the blade is sharp. Better to change the blade too soon than too late; a dull blade is the most common cause of frayed edges.
How do you cut rigid vinyl or SPC vinyl, which is quite hard?
Rigid vinyl with a hard SPC core can no longer be reliably scored and broken. Here, a jigsaw with a fine blade or a circular saw with a guide rail leads to a clean result.
How do I cut curves and recesses for pipes?
First, make a template out of cardboard, adjust it on site, and only then transfer the contour to the vinyl plank. Round cutouts can be neatly prepared with a hole saw drill bit of the appropriate diameter.
Do I have to account for an edge gap to the wall when cutting?
Yes, plan for about 8 to 10 millimeters of edge distance at every wall as an expansion joint. This allows the vinyl flooring to expand during temperature and humidity fluctuations without buckling. The baseboard will cover the joint at the end.
What to do if the cut did not turn out perfectly straight?
Small irregularities can be reworked with a fine sanding sponge or a file. For larger tear-outs, it is usually faster to cut the plank again than to laboriously correct the edge.
Conclusion
Cutting vinyl flooring, with the right tools and a little patience, is a task that can be mastered even without professional experience. The key is to match the tool to the flooring type: utility knife for click vinyl, carpet knife for glue-down vinyl, saw for rigid vinyl. Anyone who additionally works with templates and doesn't forget the expansion gap will end up with clean edges and tight joints, which ensure the floor stays looking good for years to come. If you are still unsure before purchasing which vinyl flooring suits your cutting project, take a look at our guide on common installation mistakes or order a vinyl flooring sample beforehand to get a feel for the material.
You can also find more background information on the material in the Wikipedia entry on vinyl flooring.
Ready for your new floor? Discover top-quality click vinyl and glue-down vinyl, plus the right accessories for installation.
Discover vinyl flooring now