
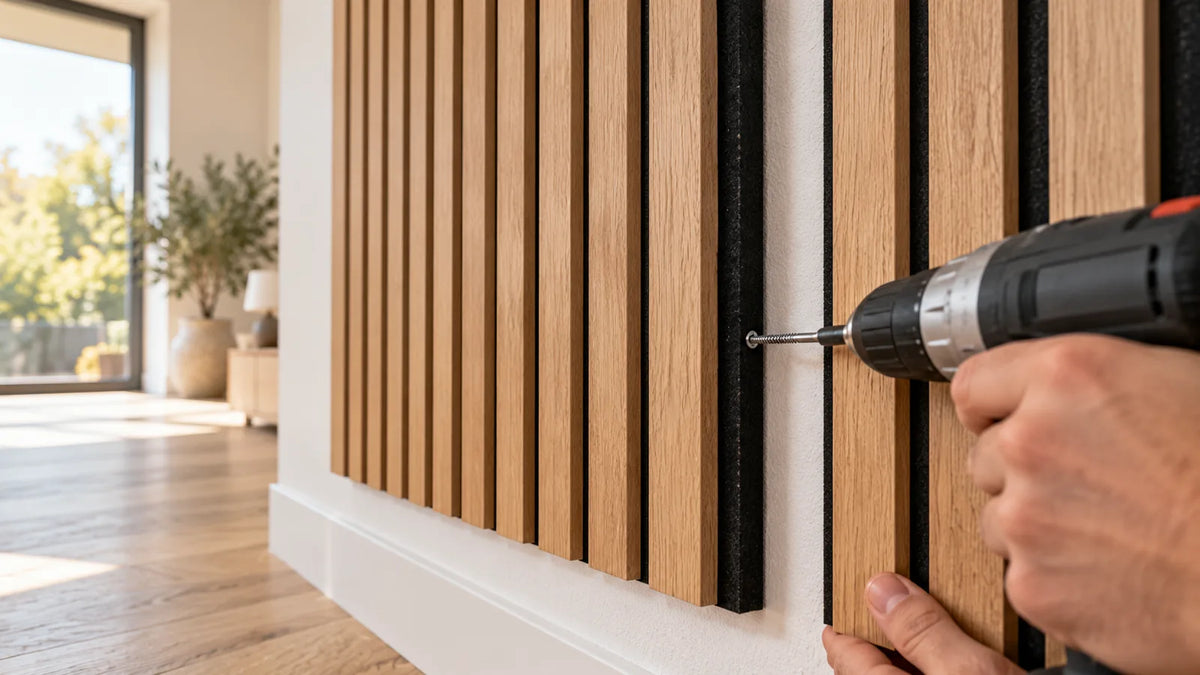
There are three ways to mount acoustic panels on the wall: using mounting adhesive, screwing them on directly, or attaching them to a backing board. You do not need a wooden substructure for the modular 52 x 52 cm and 52 x 104 cm panels. The right method depends primarily on your substrate and whether you intend to remove the panels at some point.
Gluing, screwing, or backing board: What fits when
| Method | Suitable for | Removal |
|---|---|---|
| Gluing | Stable, smooth substrate: plastered wall, drywall, painted surface in good condition | Only with damage to plaster or wallpaper |
| Screwing | Uncertain substrate, tiles, concrete, or if the panels need to be removed later | Possible, dowel holes will remain |
| Backing board | Rental apartments, woodchip wallpaper, loose plaster, uneven walls | Completely, the wall remains untouched |
Check the substrate, this is the most important part
The most common reason why panels fall off after a few weeks is not the wrong adhesive, but a substrate that doesn't hold. Do the masking tape test: press a piece of masking tape firmly onto the wall and pull it off abruptly. If paint or plaster residue sticks to the tape, the surface is not load-bearing, and you must prime it first or use a backing board instead.
The substrate should be clean, dry, dust-free, and grease-free. Fresh plaster needs time to dry; in new buildings, this takes several weeks depending on the structure. Do not glue directly onto woodchip wallpaper: the wallpaper may hold to the plaster, but the weight of several panels will eventually tear it off.
Also, let the panels sit for about a day in the room where they will be hung before installation. This allows them to acclimate to the temperature and humidity so they don't expand or contract later.
Step-by-step gluing
- Mark the area. Measure the wall and mark a horizontal starting line with a spirit level and pencil. Start at the bottom center or at the edge that is most visible, and work your way outward.
- Lay out dry. Place the panels on the floor exactly as they should appear on the wall. With multicolored felt and moss, you will immediately see if the pattern works.
- Apply adhesive. Use a solvent-free mounting adhesive suitable for lightweight components. Apply it in beads to the back of the panel, continuously about 2 cm from the edge and once across the center. Dotted application is not enough for the large formats, otherwise, the edges will lift.
- Press on. Position the panel, press firmly for a short time, remove it again, let it air out for one to two minutes, and then press it on permanently. This double-pressing significantly increases the initial adhesion.
- Fix in place. Secure large panels with masking tape until the adhesive has set. The exact time is specified on the cartridge.
We carry the appropriate adhesive in our installation accessories. If you are unsure which one matches your substrate, give us a quick call; that is faster than reading any product description.
Screwing instead of gluing
On tiles, concrete, or whenever the wall needs to look original again later, it is better to use screws. Drill through the panel, insert the appropriate dowel, and use countersunk screws. With felt and moss, the screw head disappears into the material, and you will barely see it afterward. Drill at a low speed so that the felt doesn't tear, and only tighten the screw until the panel lies flat.
In rental apartments without damage
The cleanest way for rentals is the backing board. You mount a thin wooden or MDF board to the wall, glue the panels onto it, and hang it up. When moving out, you take the entire area as one piece, and the wall will have at most a few dowel holes. An additional advantage: you can glue the panels onto the board at your leisure on the floor, which is much more comfortable than working overhead on the wall.
Cutting acoustic panels
Cut felt panels with a sharp utility knife and a metal ruler as a guide. Make several light cuts instead of one forceful one to keep the edge straight and prevent fraying. Change the blade more often than you think; felt dulls the blade quickly. Always cut on a backing surface and from the visible side.
Do not use a utility knife for panels with a natural stone layer; use an angle grinder with a diamond blade, preferably outside and with safety goggles. For real moss, you usually don't need to cut at all: the material can be plucked by hand at the edge, creating a natural transition without a visible cut edge.
What is different with moss and stone
Preserved moss cannot withstand pressure on the visible side. When pressing it on, do not press directly on the moss, but on the edge, or place a board over it and press against that. Also, moss should not be used in the bathroom; constant humidity will damage the preservation. Learn more about this on our moss wall page.
Stone panels are heavier than felt. On critical substrates, it is better to screw them on rather than relying solely on the adhesive.
The most common mistakes
- Gluing directly onto woodchip wallpaper or loose plaster. The panels hold, but the wallpaper doesn't.
- Too little adhesive on the edges, causing the corners to lift later.
- Starting without a guide line. After three rows, the surface will look noticeably crooked.
- Gluing panels onto a warm wall directly from a cold delivery van.
- Pressing on the visible side of the moss and flattening the structure.
Frequently asked questions
Can I attach acoustic panels without drilling?
Yes, with mounting adhesive on a load-bearing substrate. For rentals, a backing board is the better choice because you can take it with you without leaving residue.
Which adhesive holds acoustic panels?
A solvent-free mounting adhesive for lightweight components. Solvent-based adhesives can damage felt and preserved moss. Apply it in beads, not just in dots.
Do I need a substructure?
No. The modular panels are glued or screwed directly to the wall; no battens are necessary. This saves installation depth and labor time.
How many panels do I need?
One 52 x 52 cm panel covers 0.27 m²; the 52 x 104 cm format covers 0.54 m². For 3 m² of wall space, you should plan for 12 small or 6 large panels. There is a requirement calculator on every product page that calculates the amount for you directly.
How much wall area should I cover to have an acoustic impact?
As a rule of thumb, cover 10 to 20 percent of the room's floor area. For a 12 m² study, this is about 1.5 to 2.5 m². The most effective placement is on the area opposite the sound source and behind the desk. You can find the appropriate panels in our felt acoustic panels section.
Can I add more panels later?
Yes. All panels in the Modular Wall series have the same grid dimensions, so you can expand the area or mix materials at any time. You can find an overview in the wall panels section.
Unsure about the color or material? Order up to 3 samples for a total of €19.95; we will fully credit this cost toward your purchase.