
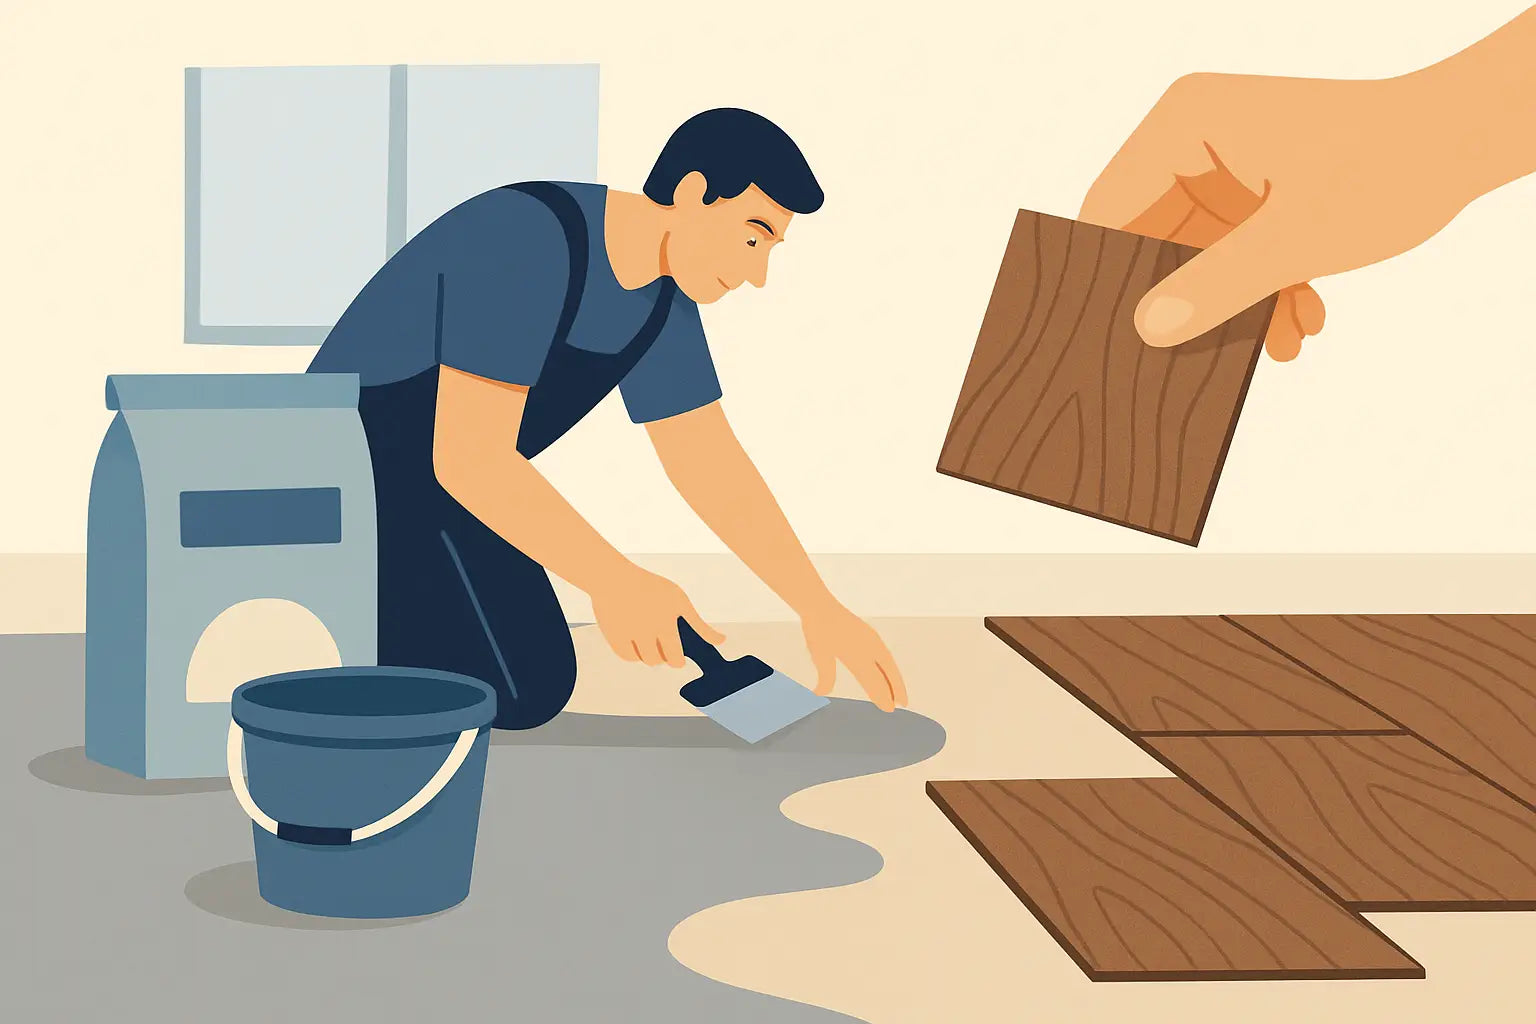
A vinyl floor is only as good as the subfloor beneath it. If the subfloor isn't level, you'll see and hear it every day: waves in glancing light, creaking click connections, or telegraphing edges with adhesive vinyl. The right filler for vinyl flooring therefore determines the difference between "looks good" and "lasts permanently." Here you'll learn when you need to skim coat, which compound suits your system, and how to avoid common mistakes.
Last updated: June 2026
Key Takeaways
- When to skim coat? As soon as you see edges, depressions, or light gaps with a straightedge; almost always with adhesive vinyl.
- Which compound? Usually a self-leveling floor leveling compound, approved for your subfloor (absorbent/non-absorbent) and, if applicable, underfloor heating.
- Primer is essential, it binds dust, regulates absorbency, and creates adhesion.
- Underlayment ≠ Leveling: Unevenness should be skim coated, not "padded away."
- Patience with drying: Wait for the readiness to be covered, not just the dry surface.
Table of Contents
- When to skim coat at all
- Which filler? The types
- Click vs. Adhesive: different requirements
- Subfloor check: what matters where
- Don't forget the primer
- Skim coating the floor: Step by step
- Layer thickness & drying
- Avoiding common mistakes
- Frequently Asked Questions
- Conclusion
When to skim coat at all
Skim coating compound comes into play when the floor is not level enough, when there are joints, tile grids, or breakouts, or when you want to prepare an old subfloor so that adhesive and vinyl will work reliably later. Typical cases: old tiles in the hallway, skim coated areas in the screed, worn floorboards in old buildings.
"Level" in practice means: no discernible edges, no depressions, no bumps. Check this with a long straightedge. If you see light gaps underneath, you should level it and not try to hide it with an insulating underlayment. Underlayments are not leveling compounds: they follow the unevenness and can even put additional stress on click connections.
Which filler? An overview of the types
In stores, you'll encounter terms like leveling compound, self-leveling compound, floor filler, or repair filler. For vinyl flooring, you usually need a self-leveling floor leveling compound that creates a smooth, flat surface, such as the Bostik SL C350 Universal Leveling Compound. Repair fillers, on the other hand, are intended more for localized damage.
Pay attention to what the compound is approved for: for residential areas, for underfloor heating, for specific layer thicknesses, for absorbent or non-absorbent subfloors. For adhesive vinyl, a particularly fine, low-pore compound may be used, as every structure will show through the thin covering.
Click vs. Adhesive: different requirements
| Click Vinyl | Adhesive Vinyl | |
|---|---|---|
| Why flatness? | so that the click connection is not under tension | because every unevenness shows through on top |
| Skim coating necessary? | for noticeable unevenness | almost always |
| Consequences of errors | creaking, open joints, damaged click strips | visible edges, pressure marks, poor adhesion |
Still unsure which system is right for you? Our comparison Click vinyl or adhesive vinyl? will help you.
Subfloor check: what matters where
Before purchasing, check three things: flatness (straightedge), firmness (is the subfloor sandy or crumbly?), and moisture (especially with fresh screed). Depending on the subfloor, the procedure changes:
| Subfloor | What to do |
|---|---|
| Cement screed | prime, then level, usually straightforward |
| Calcium sulphate/anhydrite screed | grind, bind dust, suitable primer, pay attention to moisture |
| Old tiles | clean, sand, adhesion primer, fill joints |
| Wooden floorboards / OSB | stabilize/screw down, often uncoupling board layer before skim coating |
Don't forget the primer
Skim coating compound only holds as well as its adhesion to the subfloor. A primer binds residual dust, regulates absorbency, and creates an adhesion bridge. On absorbent cement screed, it prevents the compound from setting too quickly and cracking; on dense tiles, the adhesion primer is what ensures the skim coat layer doesn't delaminate. In practice, primer is often the difference between "holds" and "comes off in sheets," so plan it in firmly. More on this in the guide Primer before adhesive vinyl.
Skim coating the floor: Step by step
If you want to skim coat the floor, the process in practice always follows the same pattern. Allow enough time, especially for drying:
- Prepare the subfloor: remove loose coverings, adhesive residues, and dust, solidify crumbly areas, roughen old tiles.
- Vacuum: make the surface absolutely dust-free, otherwise you'll be skim coating on a separating layer.
- Prime: apply suitable primer and allow to flash off; diluted on absorbent screed, as an adhesion primer on dense tiles.
- Mix leveling compound: mix exactly according to dosage instructions with water, lump-free, not too thin.
- Skim coat: pour the self-leveling compound quickly and distribute with a squeegee or trowel, working within the processing time.
- De-aerate: roll over the fresh surface with a spiked roller to prevent air bubbles from remaining.
- Wait for readiness to be covered: not just the surface, the entire layer must be completely dry before the vinyl is laid on top.
Tip: For larger height differences, it's better to skim coat in two layers than to risk one layer that's too thick. You can find the right leveling compound and primer directly from us.
Layer thickness & drying
Leveling compounds have minimum and maximum layer thicknesses. Too thin doesn't level properly, too thick prolongs drying and can crack. Stick to the manufacturer's instructions. Readiness to be covered is important, not just a superficially dry layer; residual moisture can still be trapped underneath. Cool rooms and high humidity extend the waiting time, strong drafts cause the surface to dry too quickly. Especially with adhesive vinyl: if the adhesive meets residual moisture, it will not bond well.
Avoiding common mistakes
- Too much water in the bucket: makes the compound more fluid, but weakens its strength; always mix according to dosage instructions.
- Skipping primer: saves a step, but often costs the entire floor (hollow spots, detachments).
- Skim coating on dust: vacuum thoroughly after sanding, otherwise you're skim coating on a separating layer.
- Covering too early: ignoring readiness to be covered, especially critical with adhesive vinyl.
- Misusing underlayment as a leveling compound: leads to pressure marks and joint movement with click vinyl.
Frequently Asked Questions about Filler for Vinyl Flooring
Do you always have to skim coat under vinyl flooring?
Not necessarily, it depends on the flatness. Click vinyl tolerates slight unevenness, but as soon as you see light gaps, edges, or depressions with a straightedge, you should level it. Adhesive vinyl almost always requires a flat, skim-coated surface.
How do you skim coat a floor for vinyl flooring?
In short: clean and solidify the subfloor, vacuum thoroughly, prime, mix self-leveling compound according to instructions, pour and smooth out, de-aerate with a spiked roller, and then wait for readiness to be covered. Only on the fully dried surface can the vinyl be laid.
Which filler is suitable for vinyl flooring?
Usually a self-leveling floor leveling compound that creates a smooth, flat surface. Pay attention to its approval for your subfloor (absorbent or non-absorbent), for residential areas, and, if applicable, for underfloor heating.
Do you need a primer before skim coating compound?
Yes, in almost all cases. The primer ensures adhesion, prevents too fast setting on absorbent subfloors, and prevents detachment on dense surfaces like old tiles.
How long does skim coating compound need to dry before laying vinyl?
This depends on the layer thickness, product, and room climate. The readiness to be covered is crucial, not just superficial dryness. Especially with adhesive vinyl, you should follow the manufacturer's instructions, otherwise the adhesive will not bond well.
Can an underlayment be used instead of skim coating compound for leveling?
No. Underlayments follow the unevenness instead of leveling it and can put additional stress on click connections. Unevenness should be skim coated.
Conclusion
You won't see the skim coating compound later, but you'll feel it with every step. Anyone who checks for flatness, firmness, and moisture, chooses the right leveling compound, primes cleanly, and waits for readiness to be covered, lays the foundation for a floor that lies quietly and lasts a long time. You can find the right flooring in our click vinyl and adhesive vinyl collections, or get your free sample in advance.